Networking
Setting up Xbox Neighborhood
Setting up Xbox Neighborhood
Setting up xbdm
- Starting off you'll need to plug in your flash drive into your computer
if you followed my tutorial for installing a stealth server, you should already have xbdm setup and can move onto the next step
- Plug in your flash drive with your BadAvatar files
- Download xbdm and add it to the root of your storage device
- Open your launch.ini file if using BadAvatar
- Find plugin1 on your flash drive and add xbdm to the plugin1 slot
Code block
plugin1 = Usb:\xbdm.xex  (if usb)
plugin1 = Hdd:\xbdm.xex  (if internal hard drive)
if on an RGH console copy over the file using a flash drive and XeXmenu, then open Dashlaunch and add it to plugin1, press RB and X on hdd if you save your config on an internal drive or usb if on a flash drive to save changes
Downloading the Xbox SDK
this part is done fully on the computer
- Download the SDK files to your computer.
- Open the .exe.
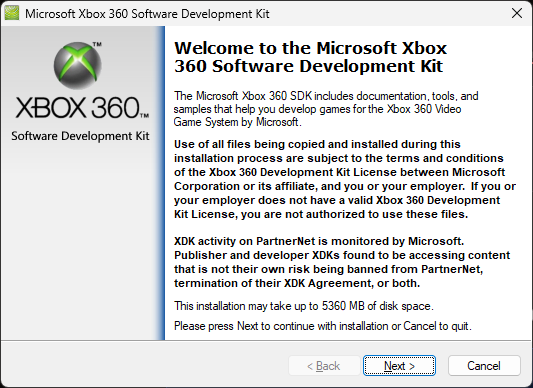
- Click Next and follow the on-screen instructions.
- Once it is fully installed, you can delete the installer from your Downloads folder.
- On your desktop you will now have an icon called Xbox 360 Neighborhood
- Double click the icon
- Press add xbox 360
- Click next
- Boot your console and exploit your console
- Connect to your netowrk either with a stealth server enabled or live block enabled
- Now you need to find your console's IP address.
A local ip address should look like 192.168.x.x
- Insert your ip into Xbox Neighborhood and click next
- Click yes to use ip as default
- Click Finish. You should now see your console listed as Jtag.
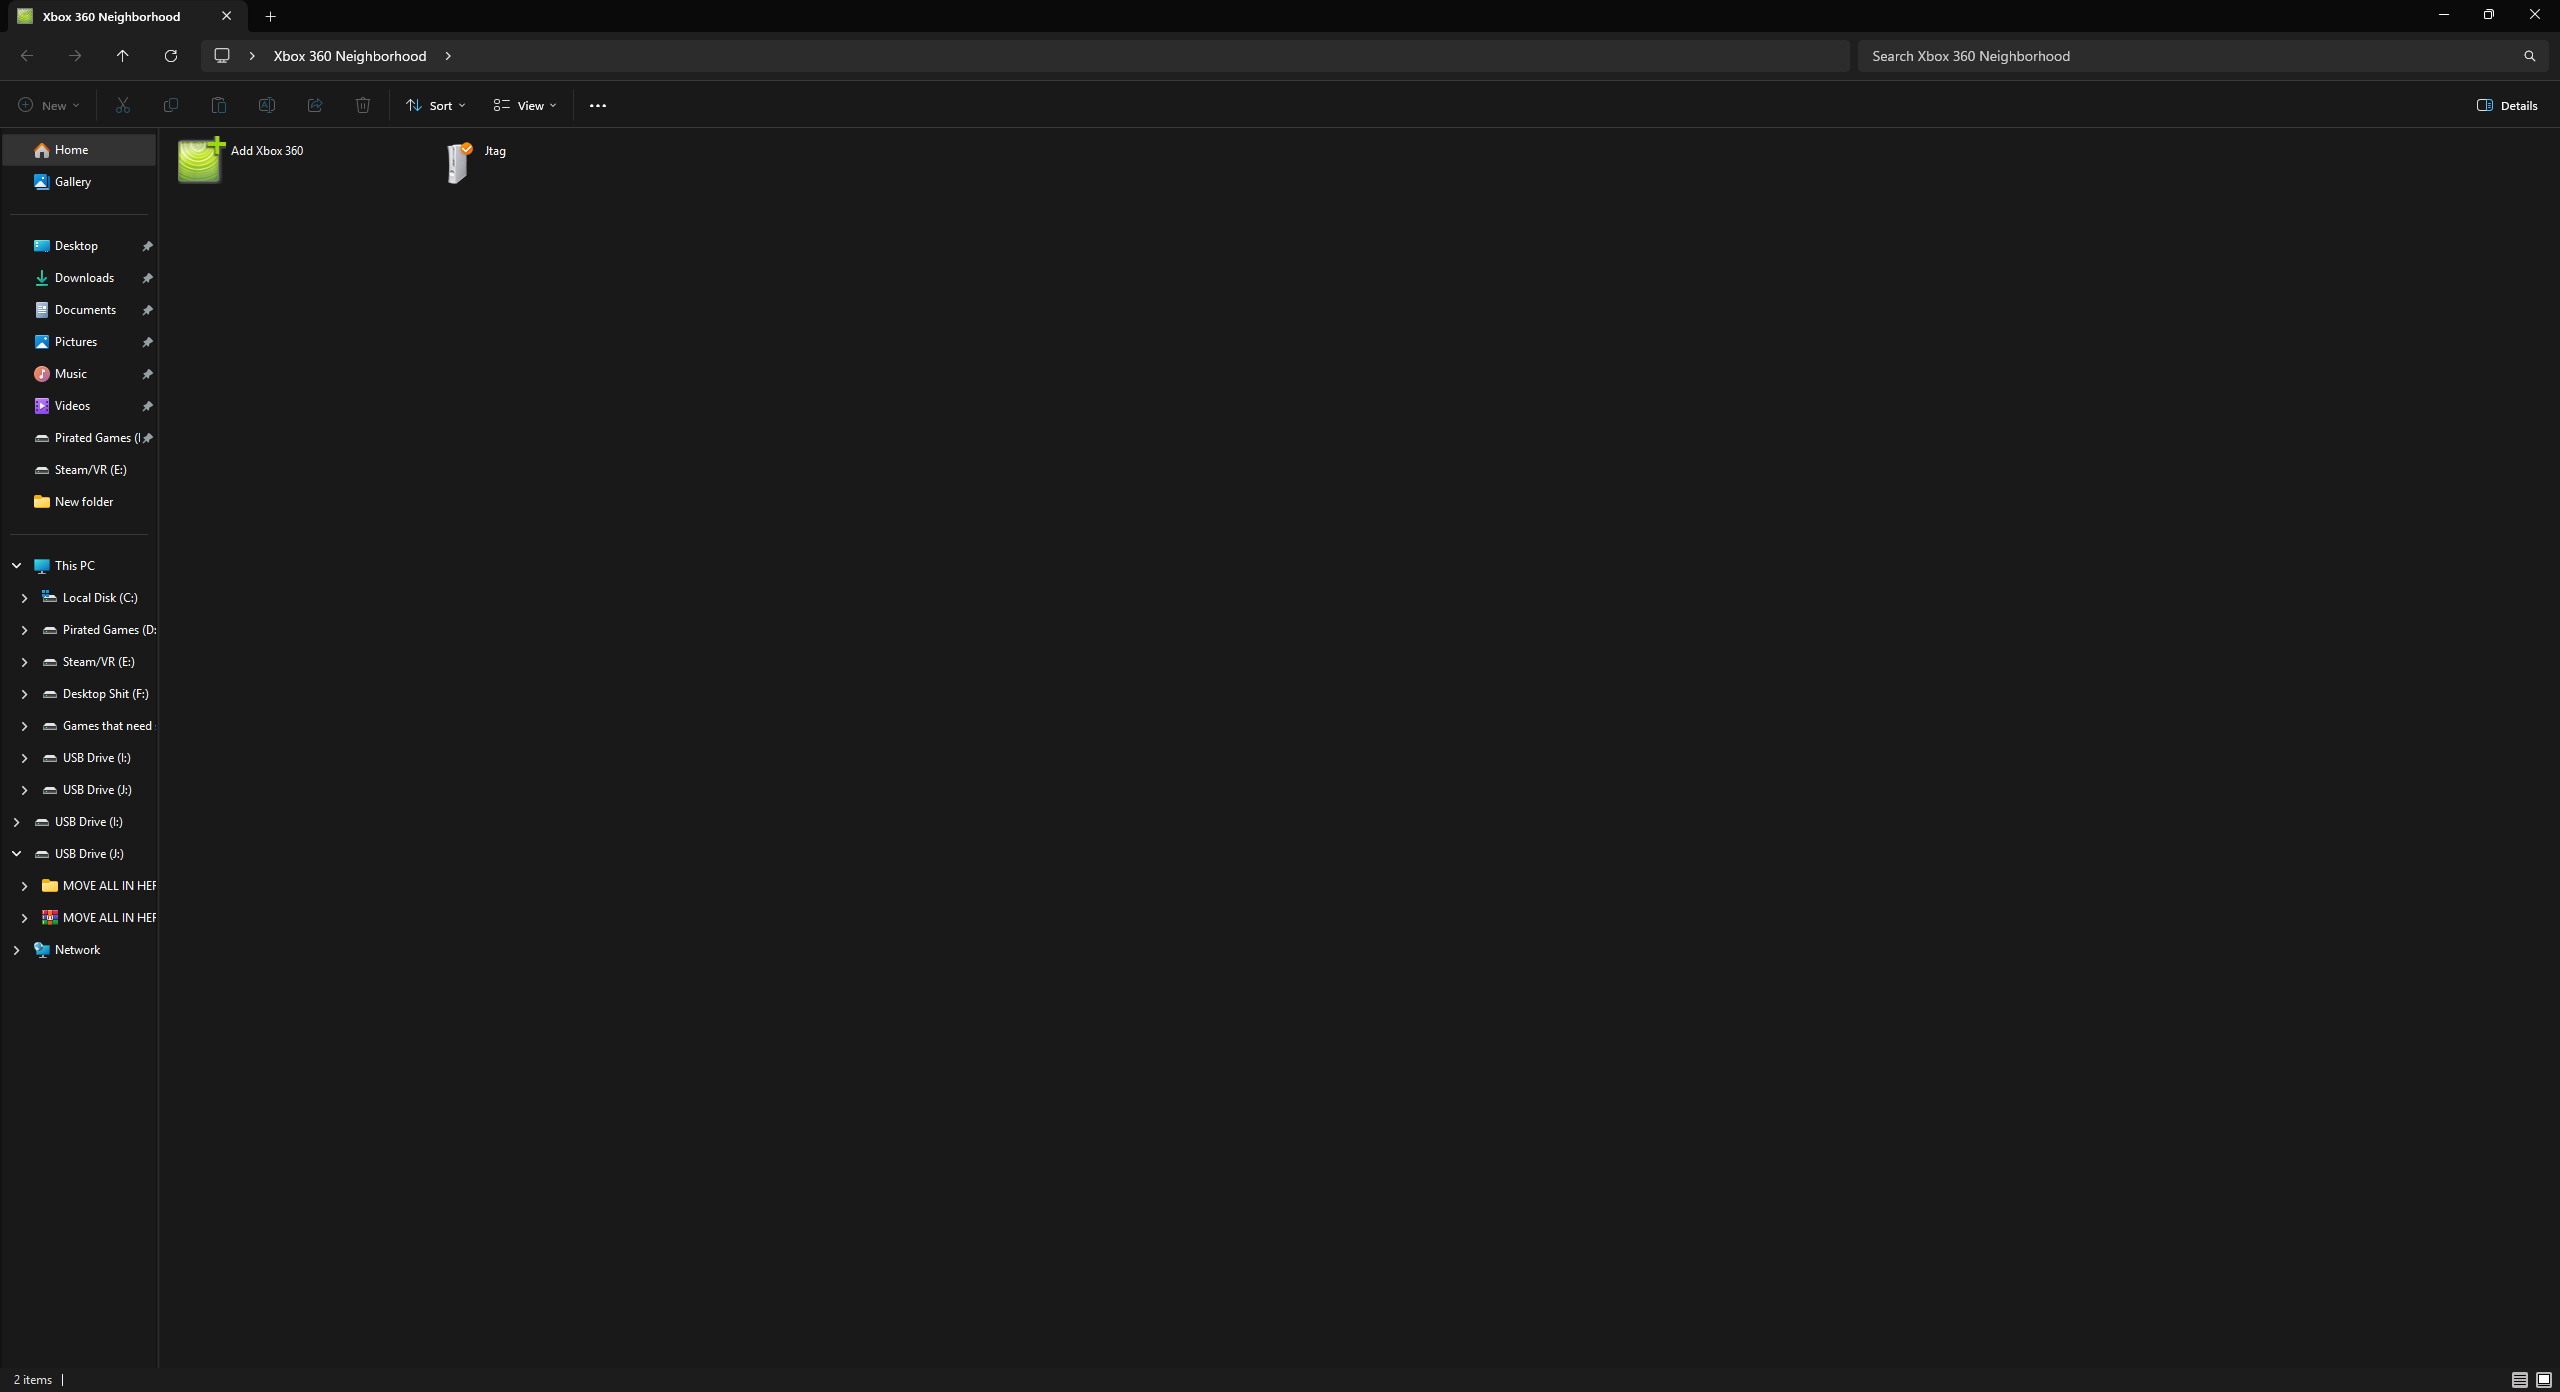
- Double-click Jtag, and you can now access and edit your files.